Installing Proxmox on Virtualbox
The purpose of this post is to document how to install Proxmox on Virtualbox. The TLDR is that everything works as expected except that I found the default DNS IP address to be somewhat unreliable so I ended up using a public DNS IP address ( 8.8.8.8 ) instead.
I found the following references to be useful:
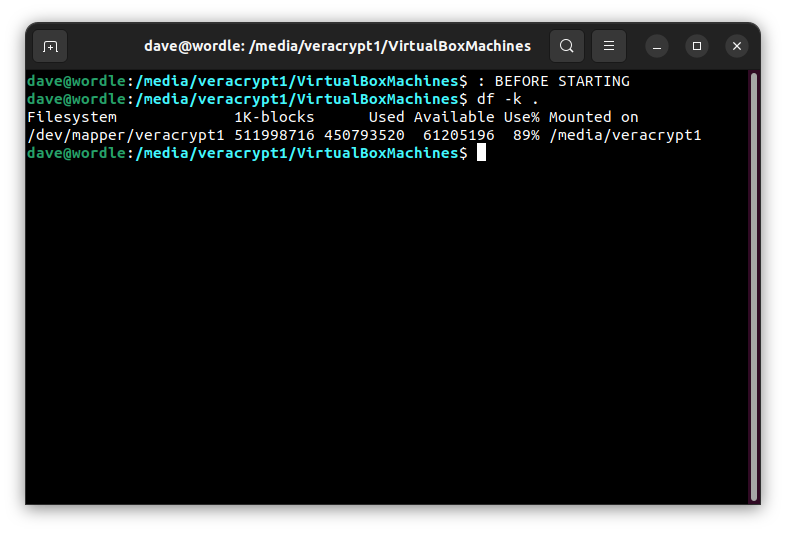
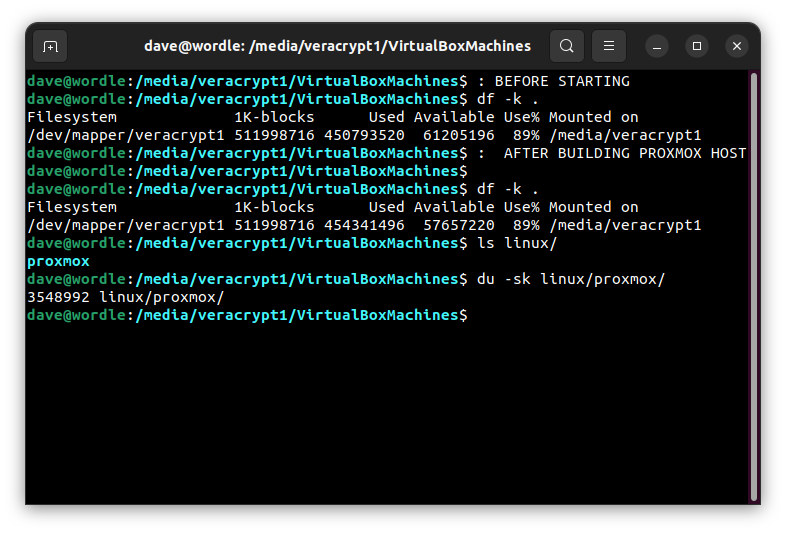
I started with 61G of available disk space. It turned out that I only needed about 4G .
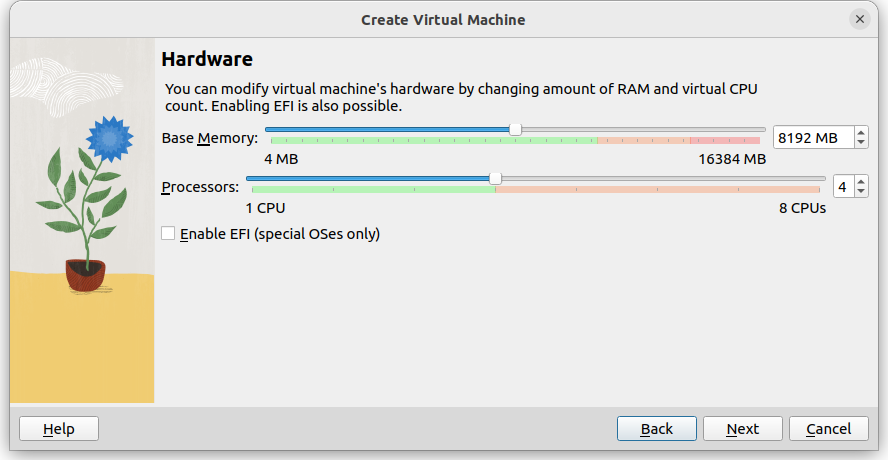
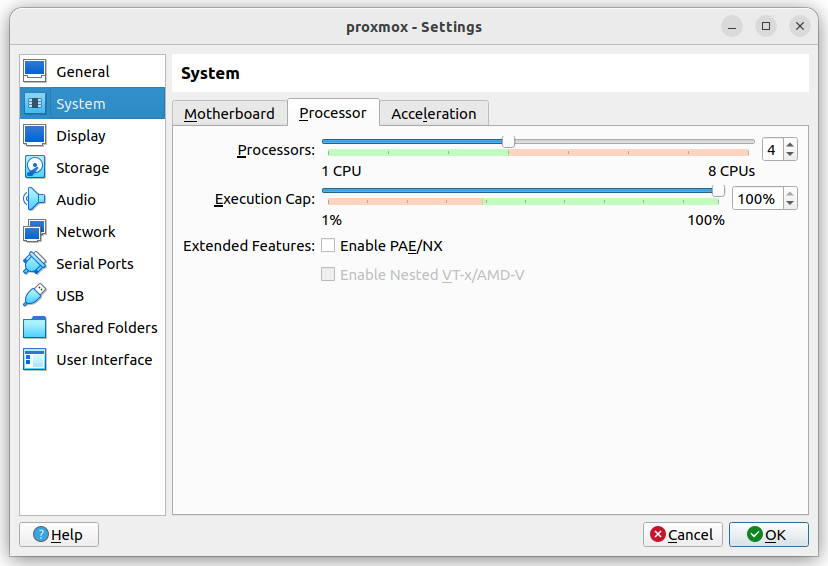
8GB of RAM and 4 CPU’s. Within the “green zone” indicated by Virtualbox.
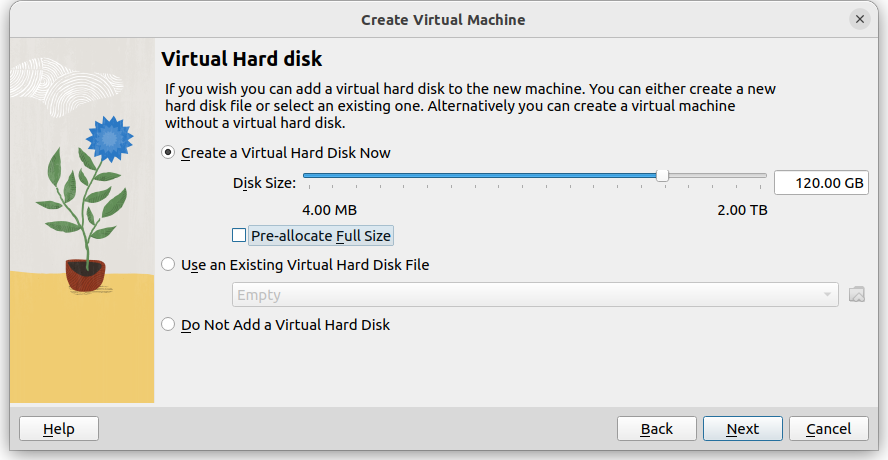
120GB of disk - probably overkill but without pre-allocation it should be fine.
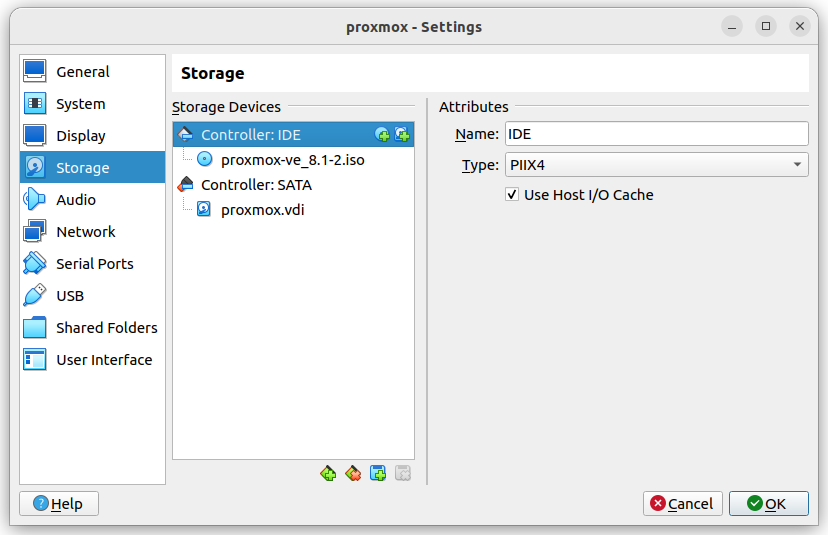
Specify the proxmox iso as optical drive:
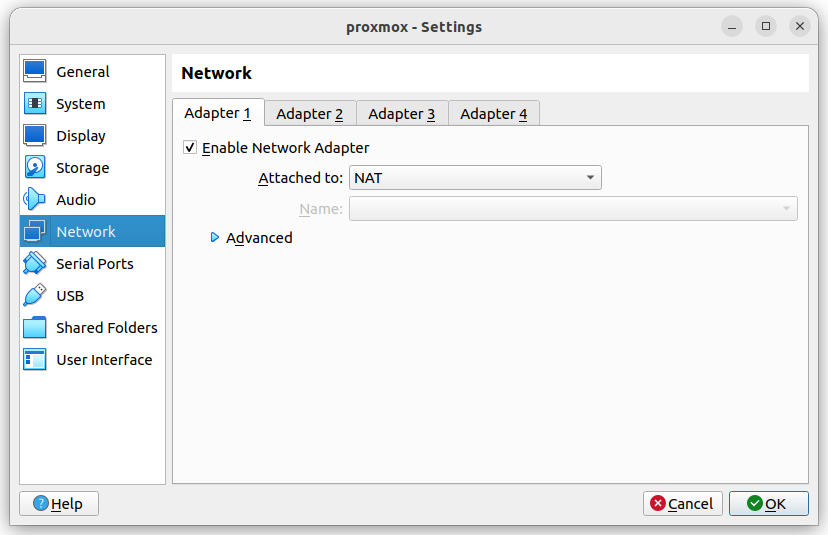
NAT network as suggested in the proxmox wiki.
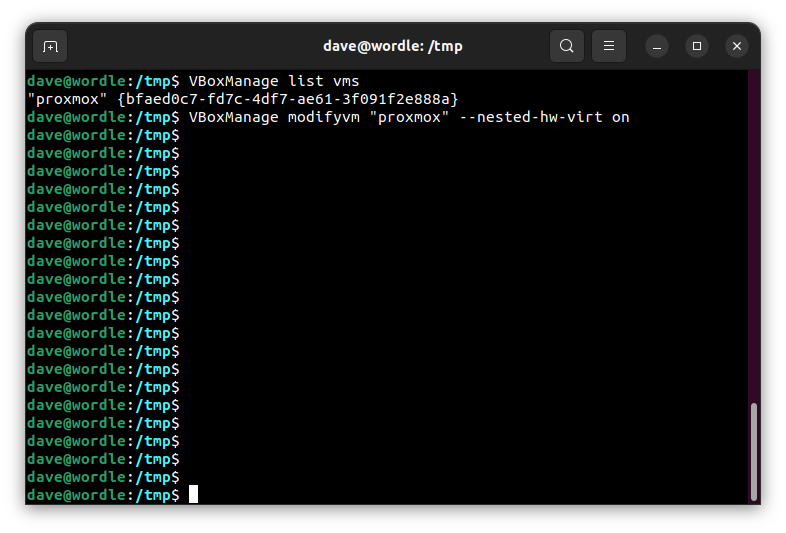
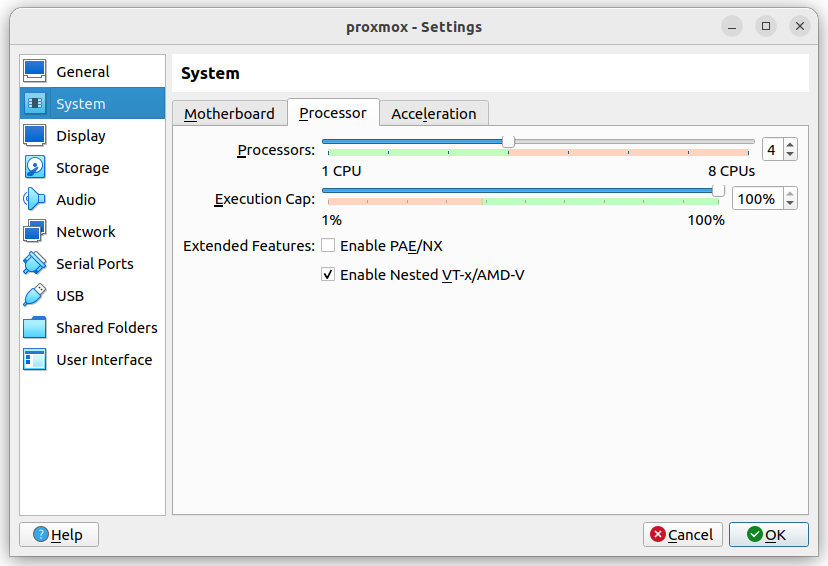
“Enable Nested” is off by default and greyed out so some cmd line action is needed to turn it on as specified here (thank you!)
Aforementioned cmd line action :
Voila!
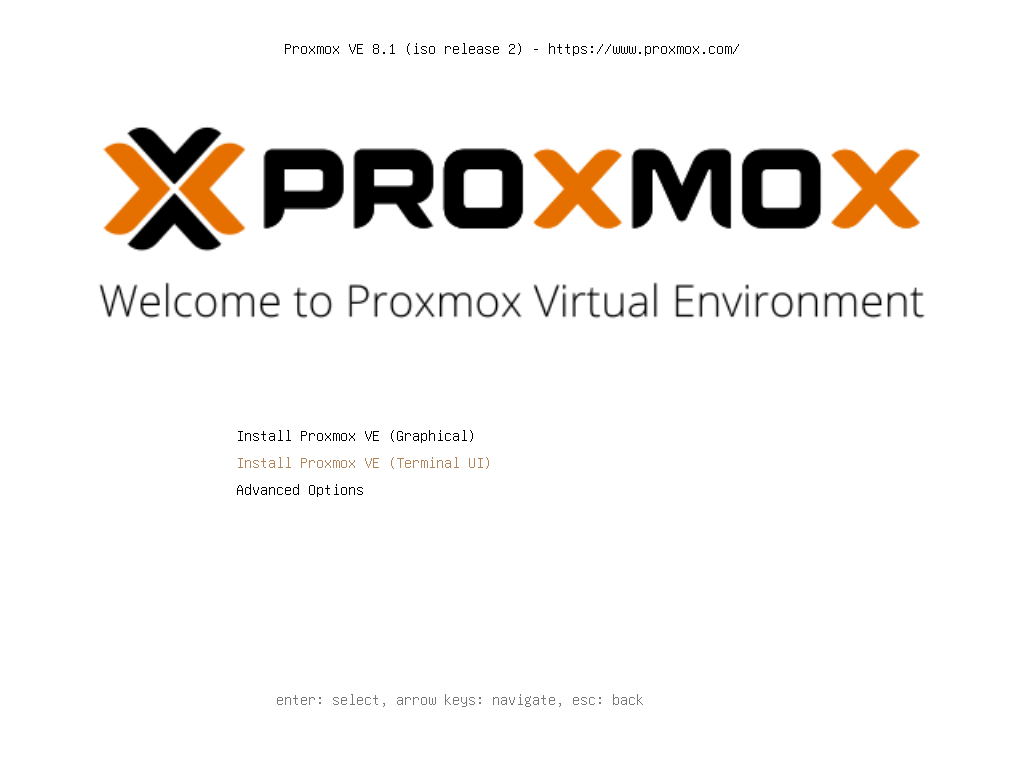
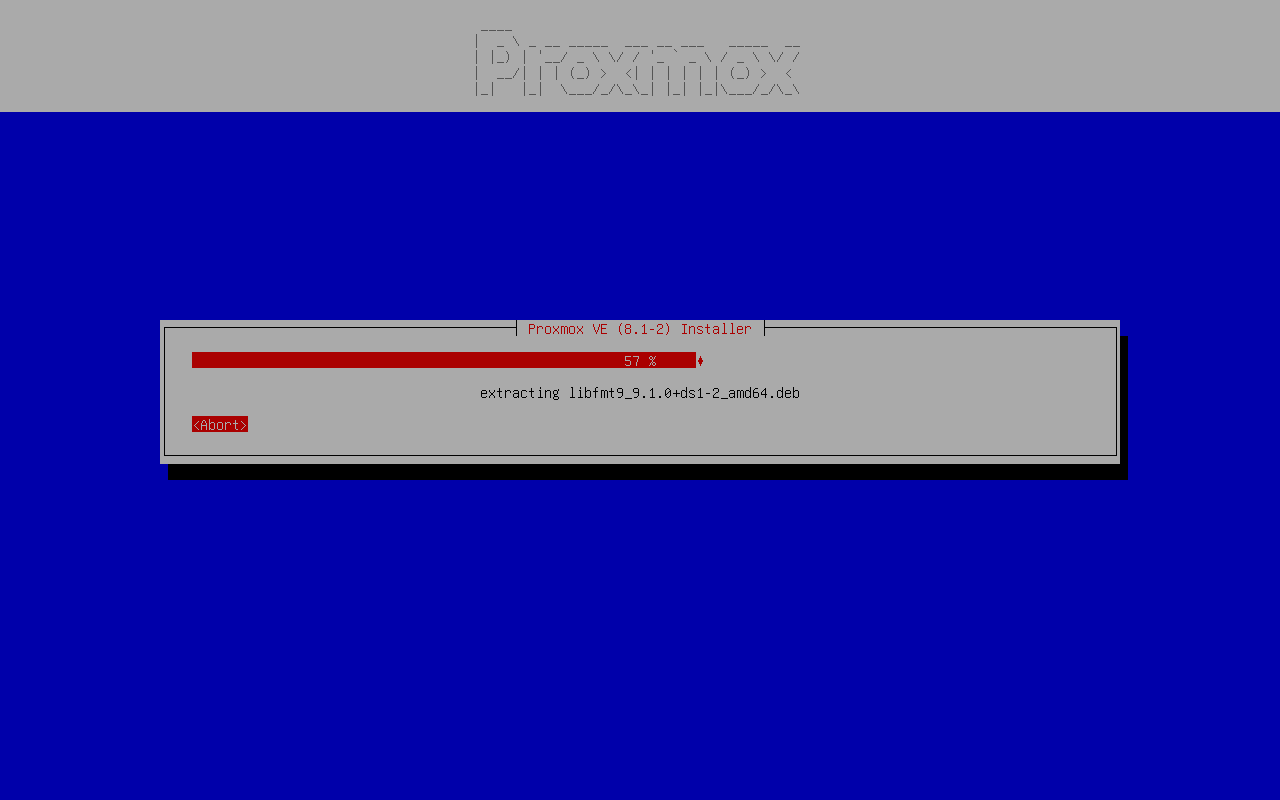
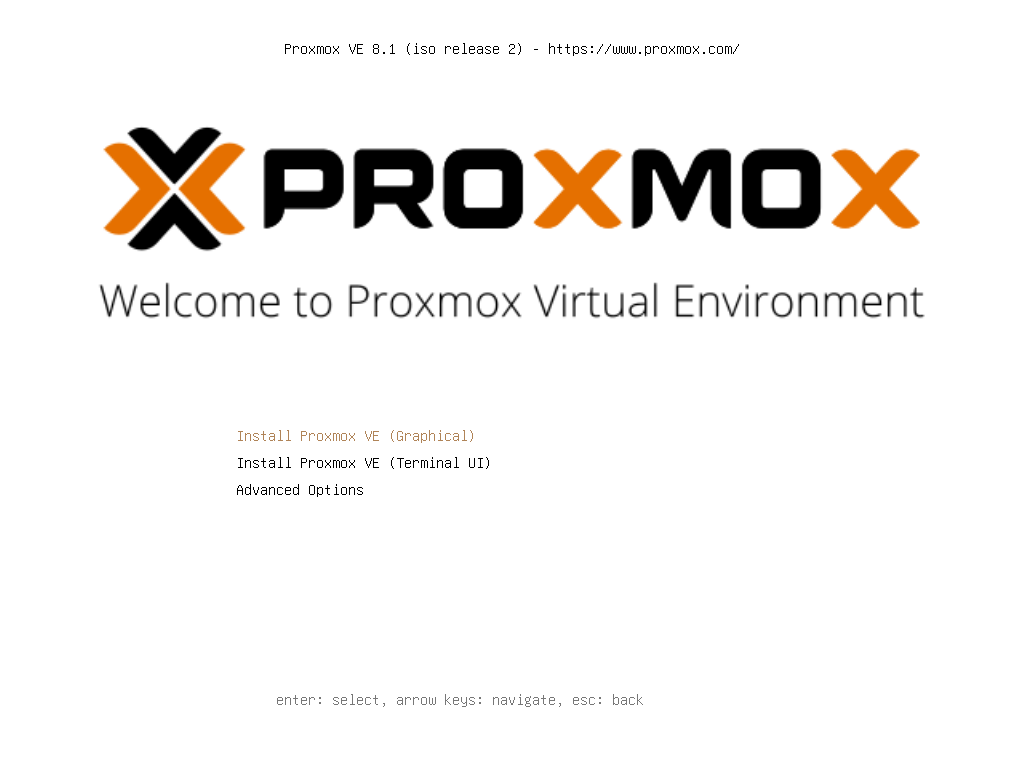
Now reboot and install . I used “Terminal UI” which probably was a mistake because screen shots came out badly (as you can see below).
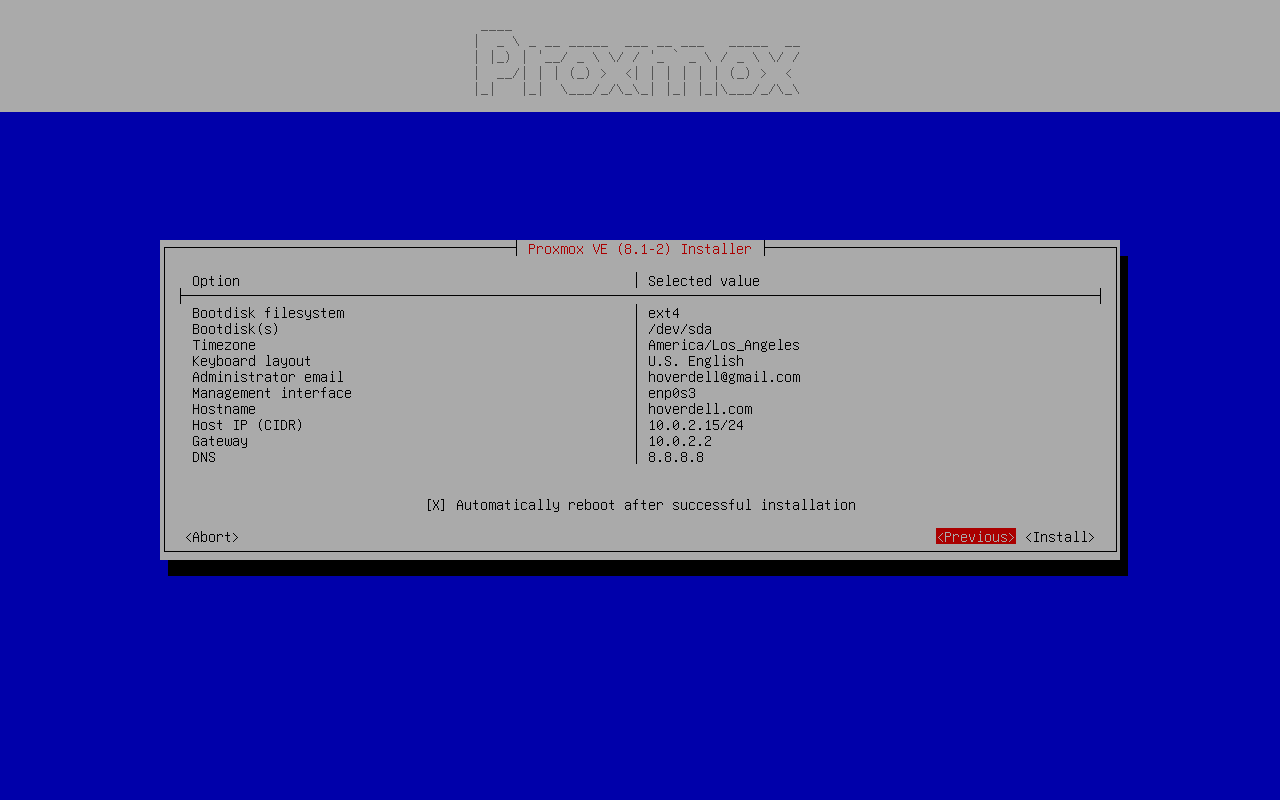
Mostly I took the defaults or what seemed like the obvious choice.
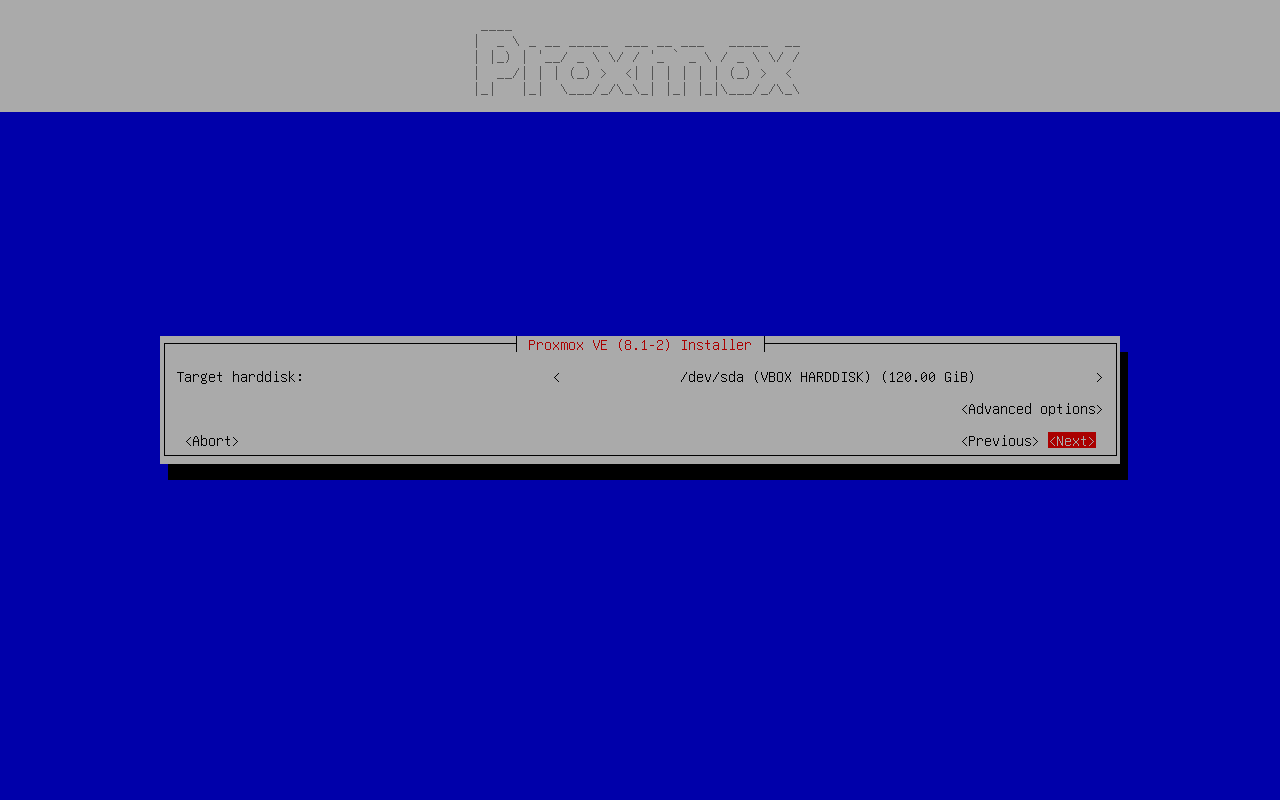
For example, I used the entire disk (obviously)…
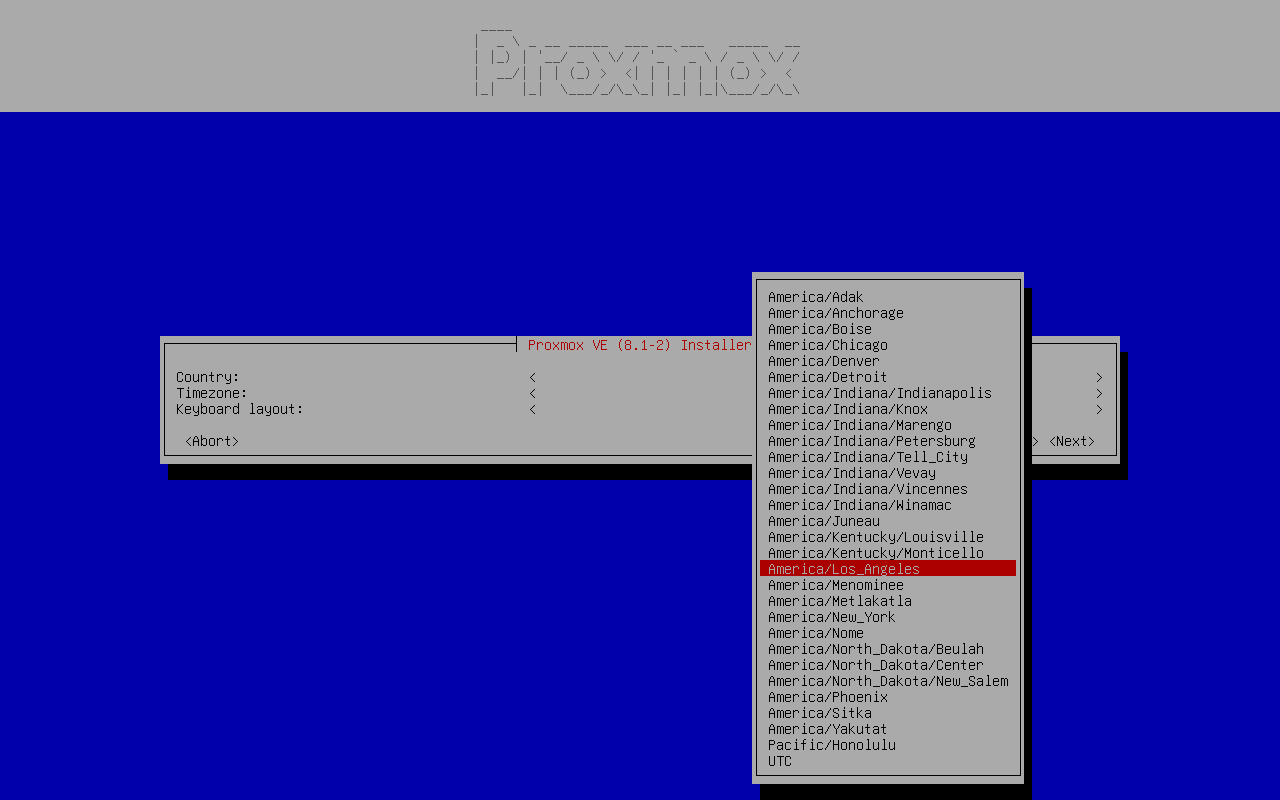
…and the local timezone…
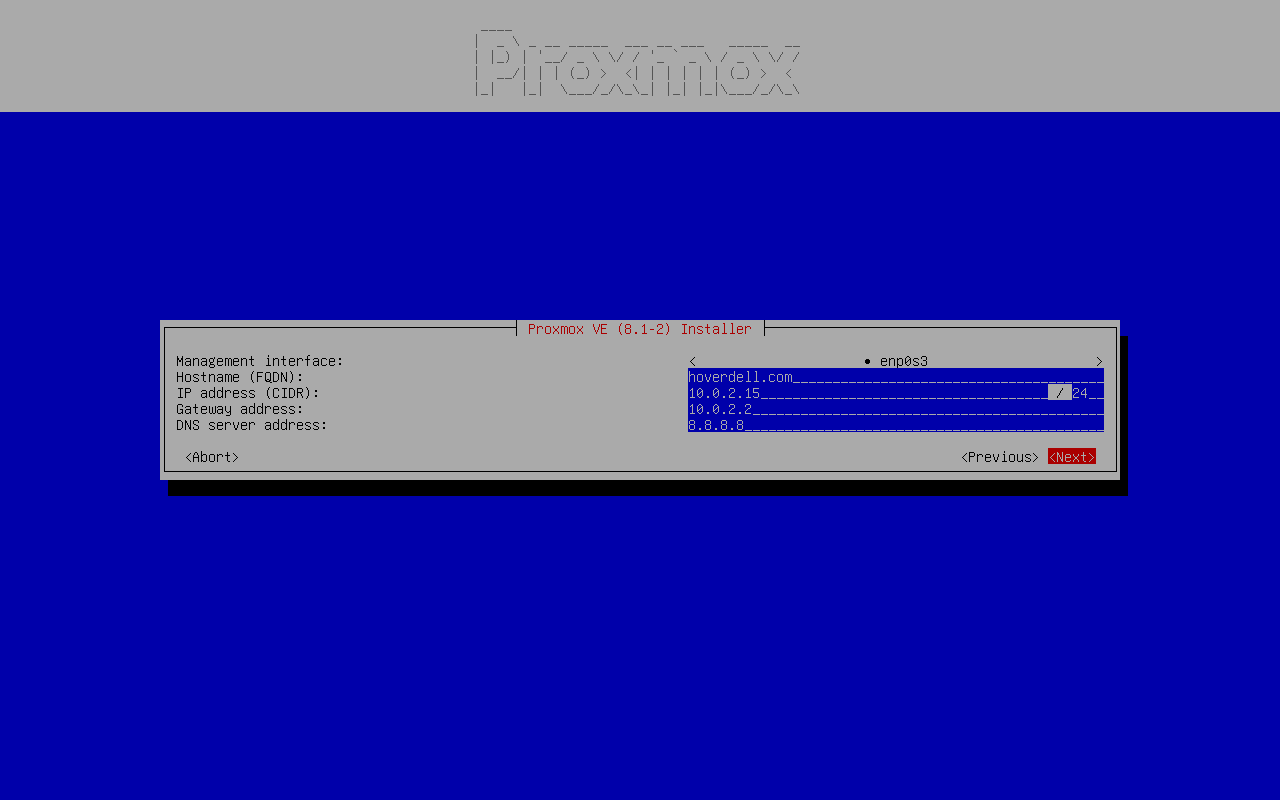
…but for DNS server address, I specified 8.8.8.8, a public DNS address provided by Google. I spent some time trying to get the default to work but eventually gave up and used 8.8.8.8. YMMV
Here’s the full specification:
Install took 5 or 10 minutes ( I didn’t time it ).
Reboot, then power off to unmount the proxmox ISO.
We no longer need the ISO so unmount it.
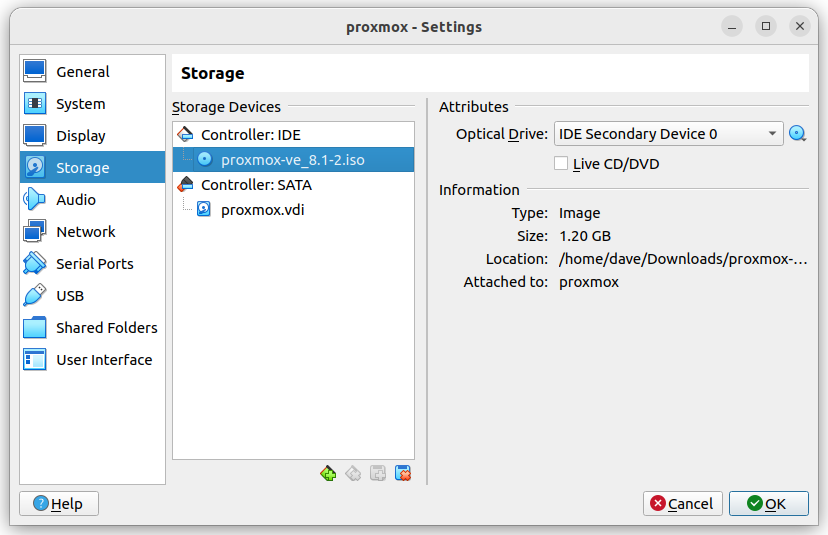
ISO is gone.
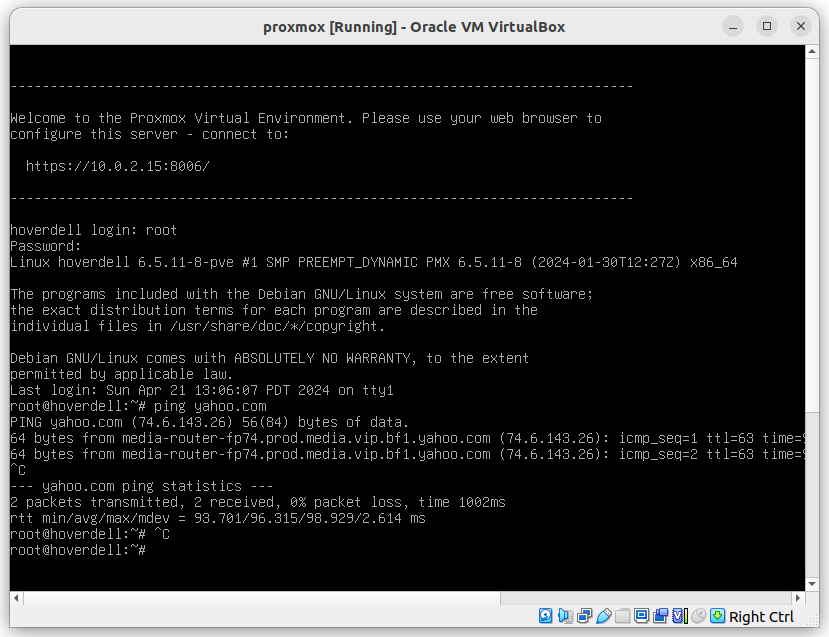
Reboot, log in as root, ping yahoo.com to verify network and working DNS.
Back in the shell, df shows that we now have about 3.5G less than starting out. Note that this matches the virtual machine usage.
At this point, there’s still more to do including using the proxmox browser interface, creating virtual machines, creating containers but I’m going to stop here and save that for a later post. Thank you for reading.