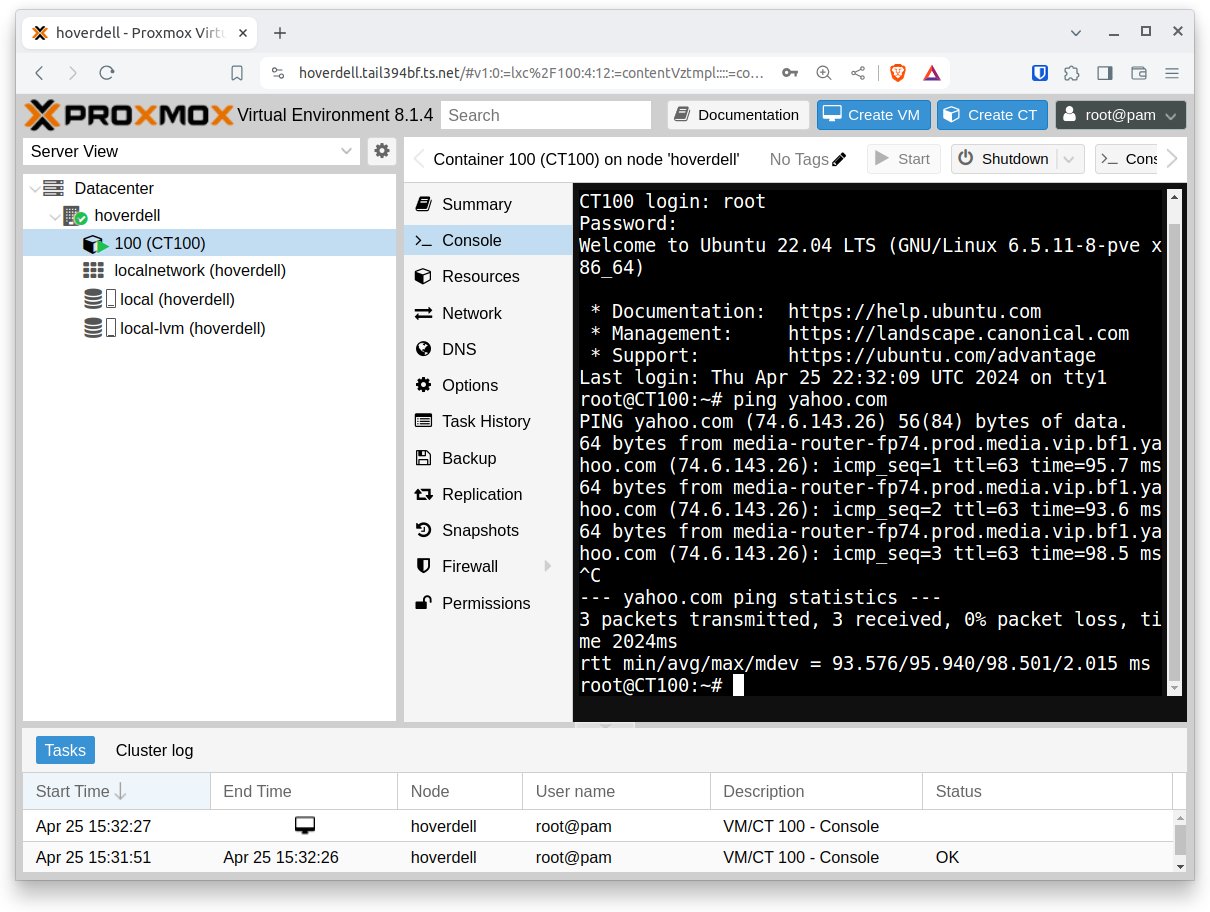
Creating a container in Proxmox in Virtualbox
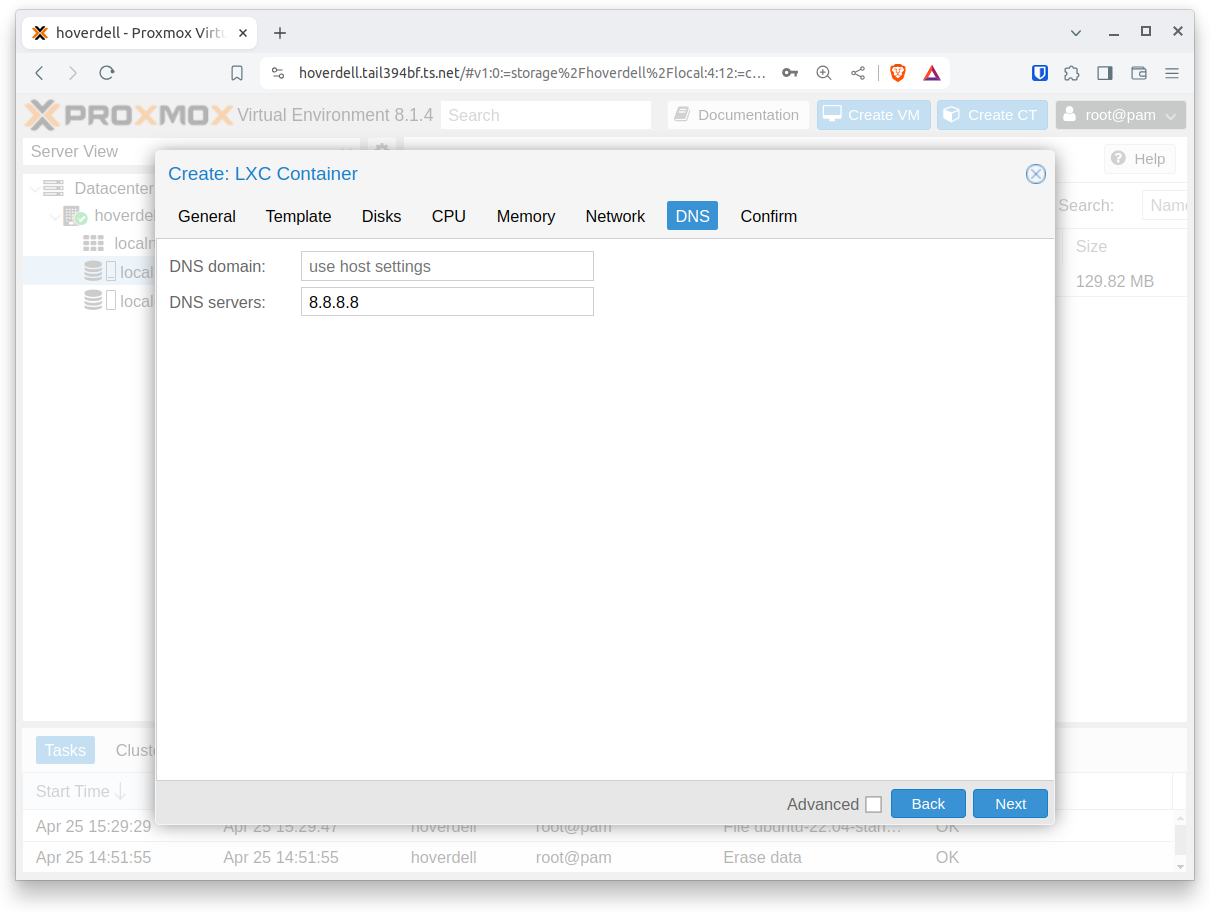
This post will show how to use the web browser interface to create a container in a Proxmox host running under Virtualbox. In Virtualbox, the network failed to initialize with the default DNS server. Using a publicly available DNS server (such as 8.8.8.8) avoided this.
First, log in to the browser based gui.
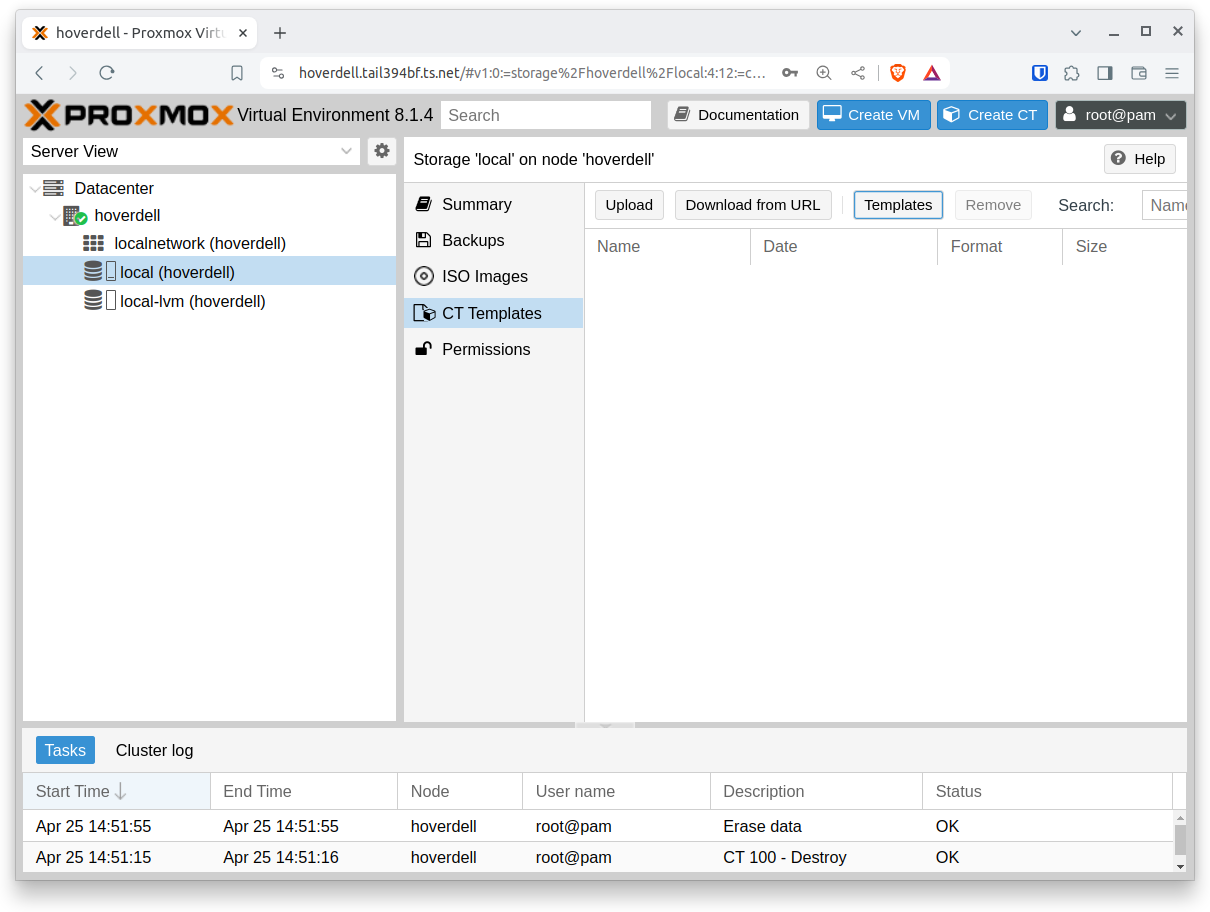
To download a container template, select “local” from the menu on the left, “CT Templates” from the next menu, and click on the “Templates” button (shown highlighted in blue outline):
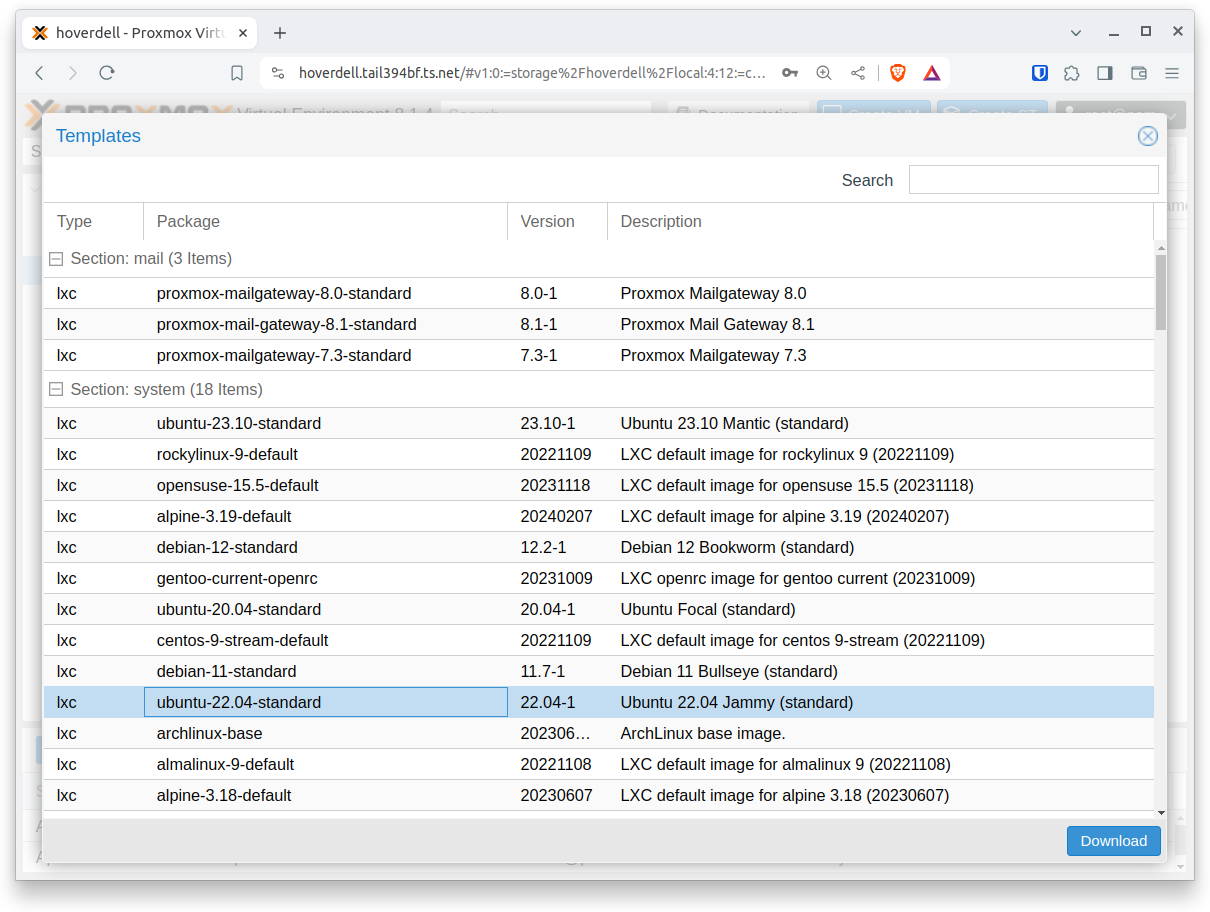
Choose a template to use for your container - I used “ubuntu-22.04-standard”.
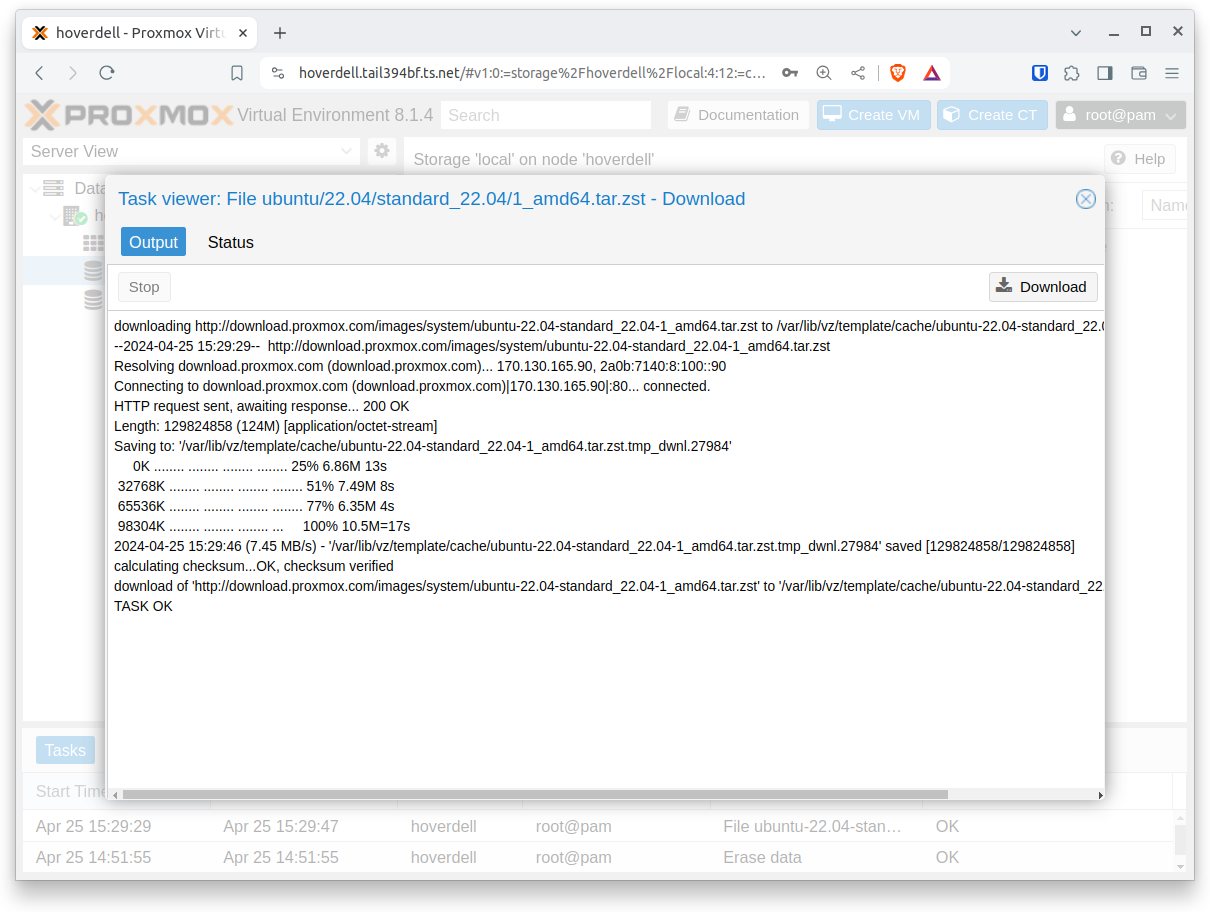
Watch it download.
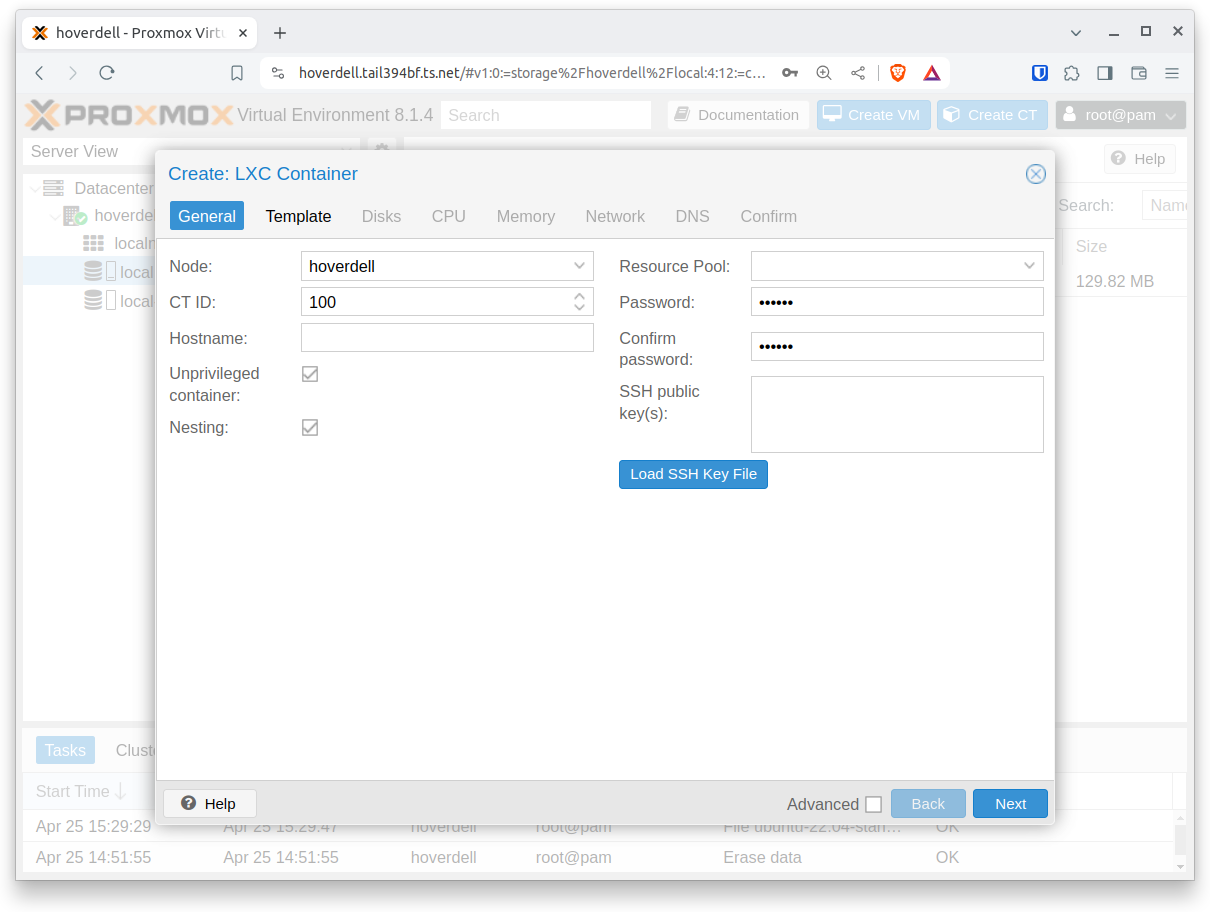
Click on the “Create CT” button. Up pops a “Create LXC Container” wizard. Choose a password.
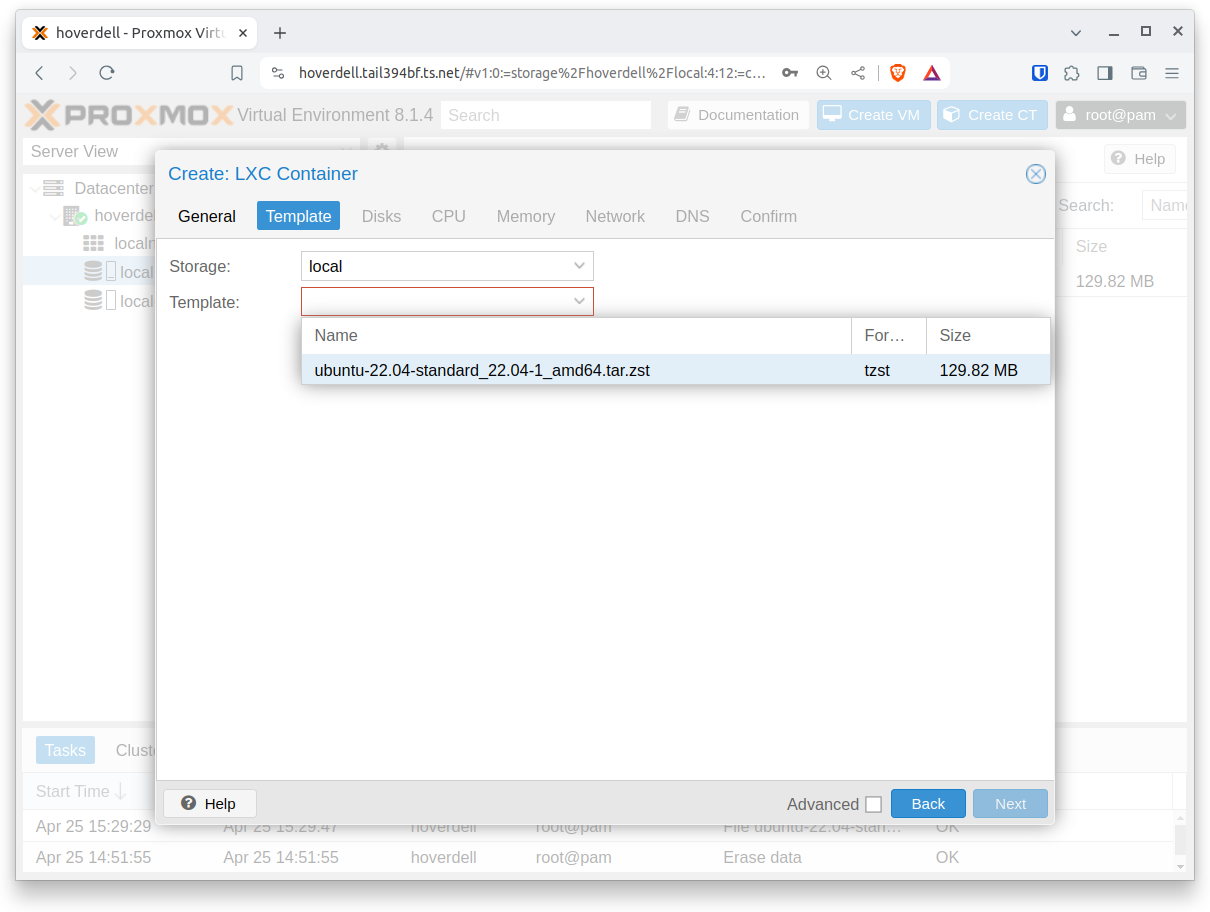
Use the container template downloaded earlier.
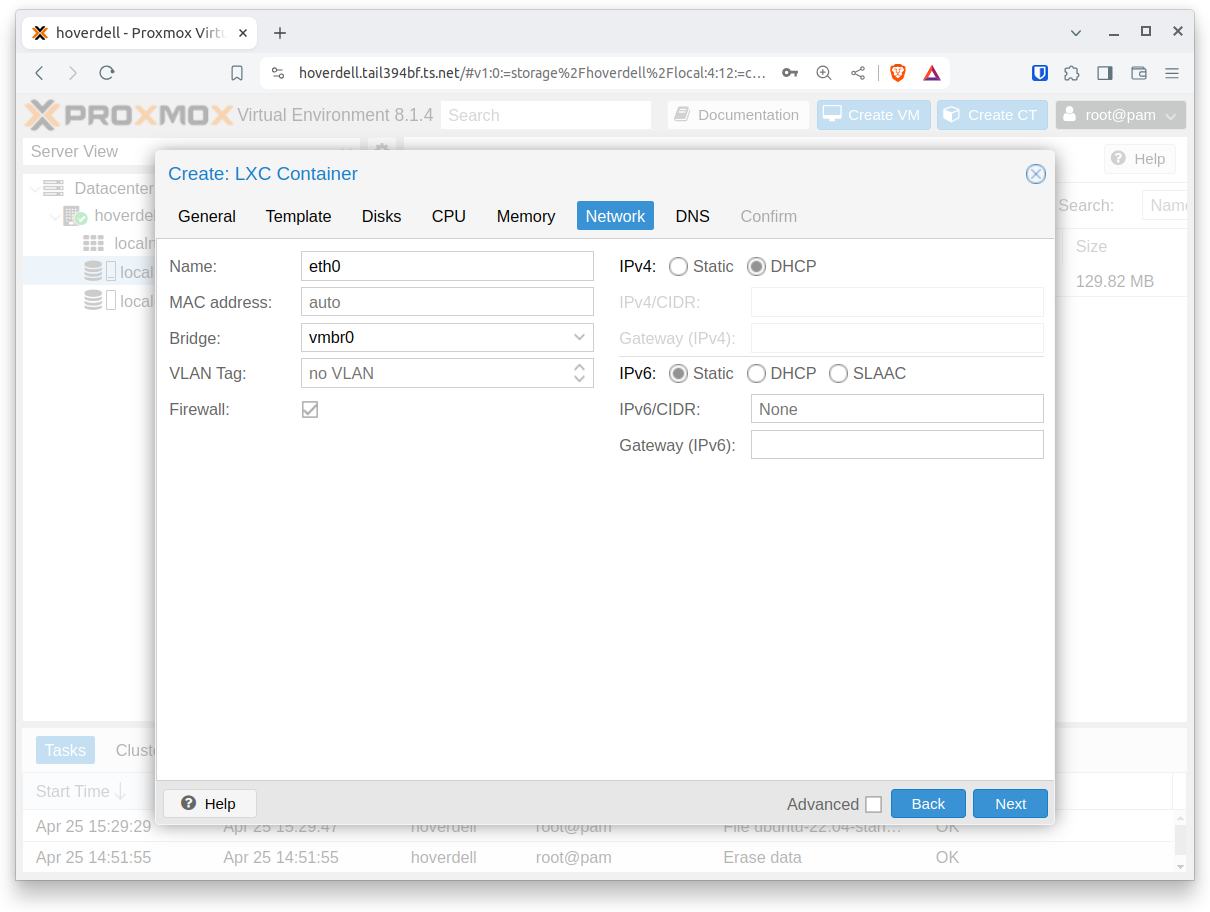
For IPv4 choose DHCP.
For DNS servers, choose 8.8.8.8 (or some other publicly available server).
Everything looks good!
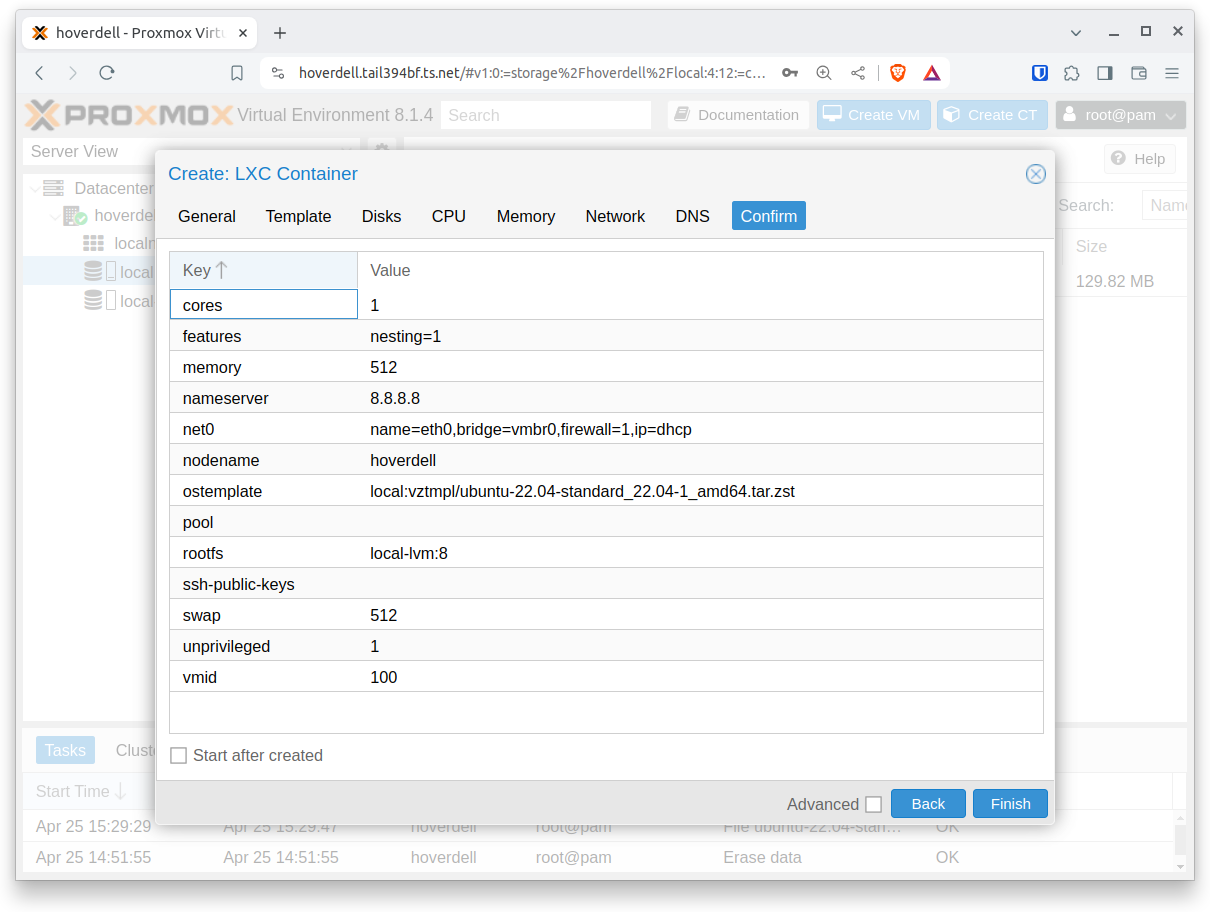
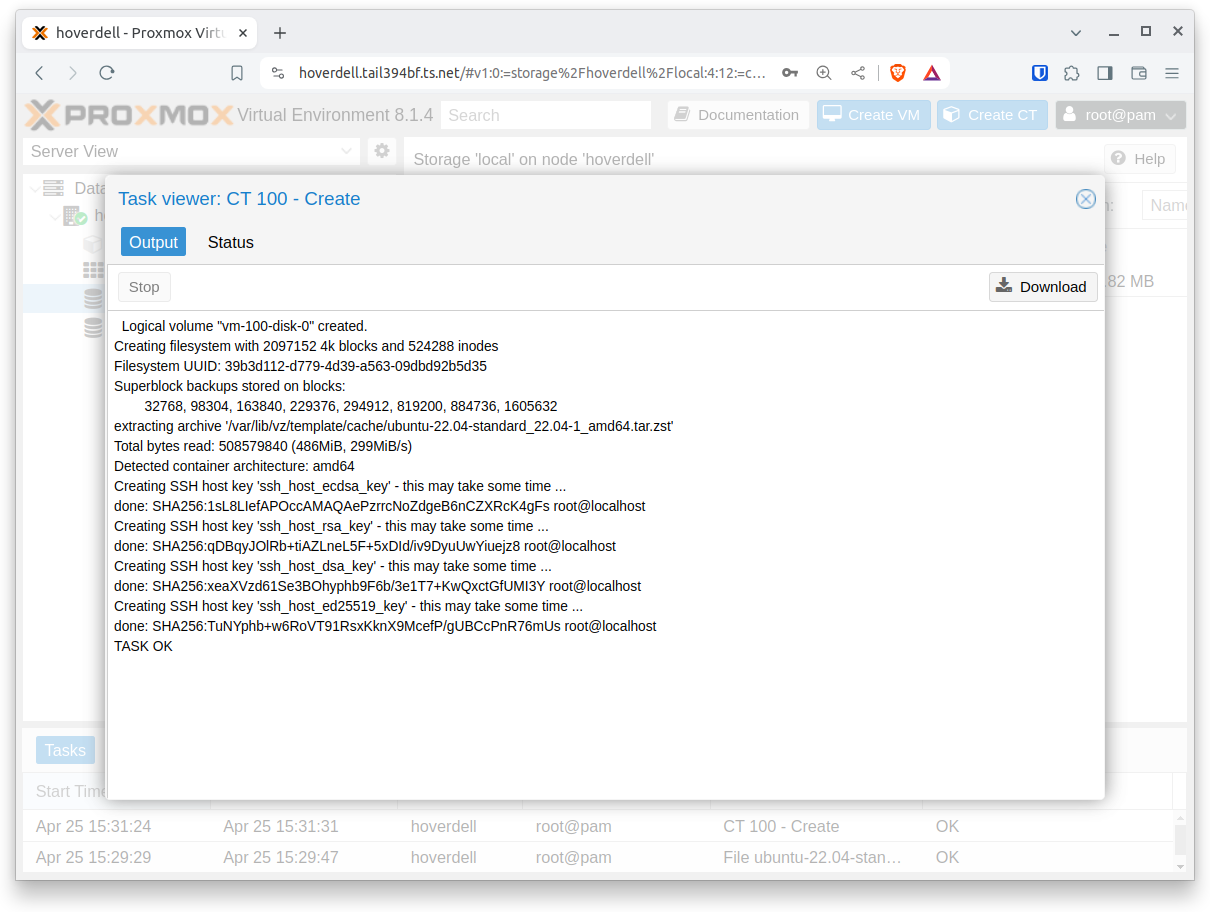
“Finish” and wait for “TASK OK”.
Select the new container and press “Start”.
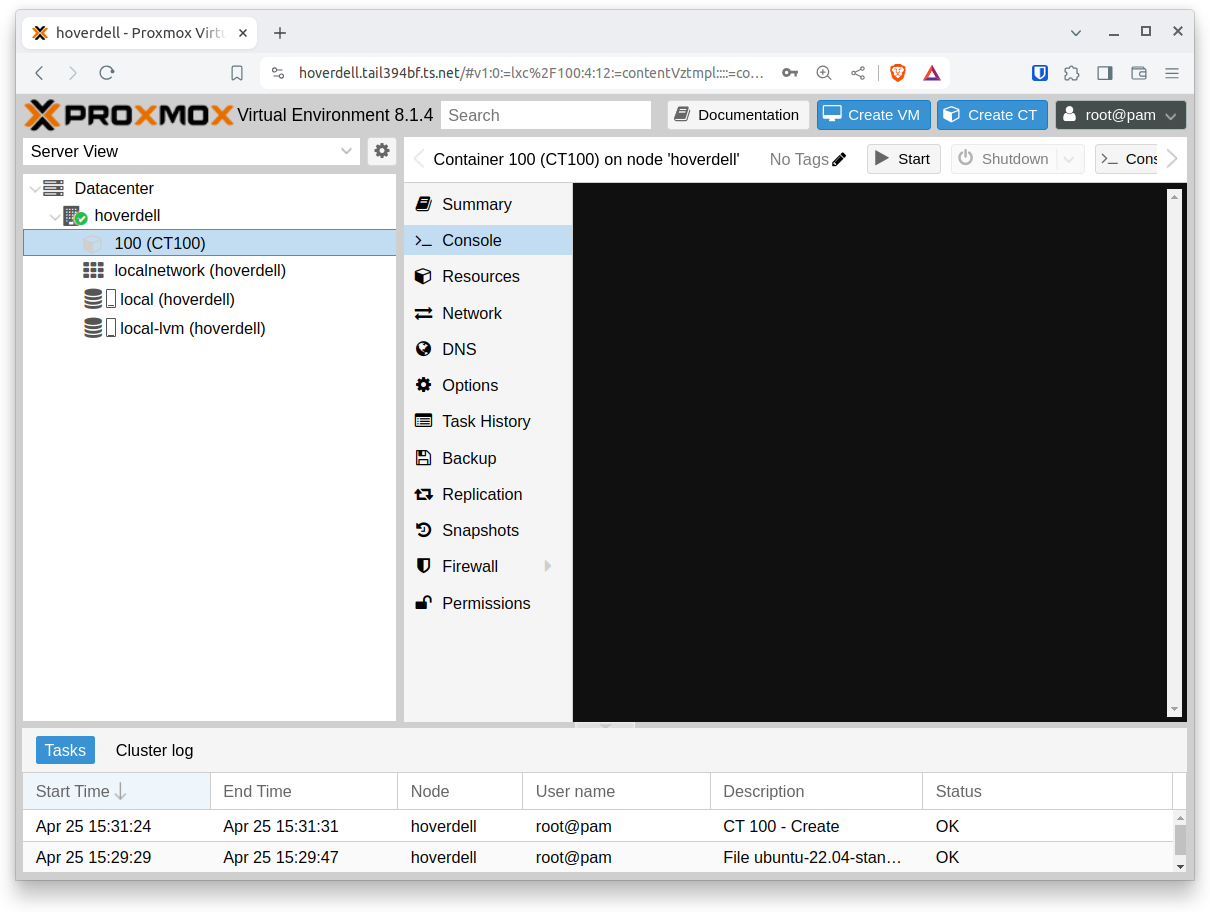
Log in and verify network connectivity.
